依赖组件
yum install -y reposync createrepo nginx
目录规划
仿照 163 镜像站点目录即可
mkdir -p /usr/share/nginx/Centos/centos/7/os/x86_64/
mkdir -p /usr/share/nginx/Centos/epel/7/x86_64
仓库配置
更换163 Yum 源
-
- 更改系统默认yum 源为163的
- 下载repo文件 替换即可
- 更改系统默认yum 源为163的
同步repo
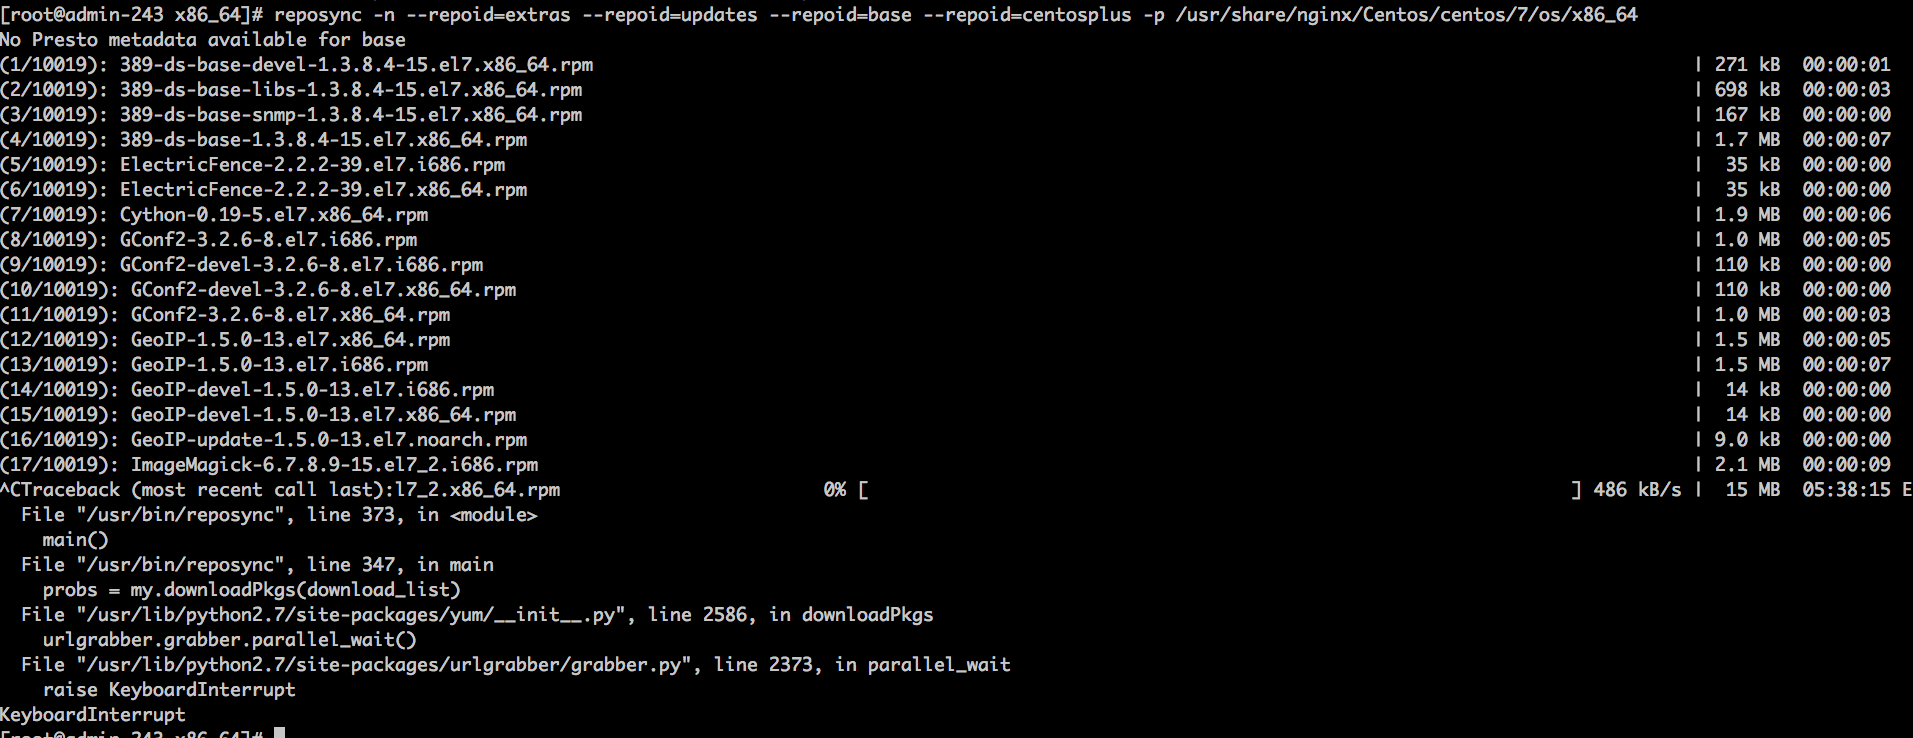
reposync -n --repoid=extras --repoid=updates --repoid=base --repoid=centosplus -p /usr/share/nginx/Centos/centos/7/os/x86_64
reposync -n --repoid=epel -p /usr/share/nginx/Centos/epel/7/x86_64
由于同步的包太多10K+ epel 有12K+ 😱耗时很久,所以手动中断了同步; 只有下列部分RPM被保存在本地,但是不影响使用!
查看仓库目录文件
# ls /usr/share/nginx/Centos/centos/7/os/x86_64/base/Packages/
389-ds-base-1.3.8.4-15.el7.x86_64.rpm        ElectricFence-2.2.2-39.el7.i686.rpm    GConf2-devel-3.2.6-8.el7.x86_64.rpm  GeoIP-devel-1.5.0-13.el7.x86_64.rpm
389-ds-base-devel-1.3.8.4-15.el7.x86_64.rpm  ElectricFence-2.2.2-39.el7.x86_64.rpm  GeoIP-1.5.0-13.el7.i686.rpm          GeoIP-update-1.5.0-13.el7.noarch.rpm
389-ds-base-libs-1.3.8.4-15.el7.x86_64.rpm   GConf2-3.2.6-8.el7.i686.rpm            GeoIP-1.5.0-13.el7.x86_64.rpm        ImageMagick-6.7.8.9-15.el7_2.i686.rpm
389-ds-base-snmp-1.3.8.4-15.el7.x86_64.rpm   GConf2-3.2.6-8.el7.x86_64.rpm          GeoIP-data-1.5.0-13.el7.noarch.rpm   ImageMagick-6.7.8.9-15.el7_2.x86_64.rpm
Cython-0.19-5.el7.x86_64.rpm                 GConf2-devel-3.2.6-8.el7.i686.rpm      GeoIP-devel-1.5.0-13.el7.i686.rpm
创建源
createrepo 命令用于创建yum源(软件仓库),即为存放于本地特定位置的众多rpm包建立索引,描述各包所需依赖信息,并形成元数据。
- 使用说明:
-u  --baseurl <url>
    指定Base URL的地址

-o --outputdir <url>
    指定元数据的输出位置

-x --excludes <packages>
    指定在形成元数据时需要排除的包

-i --pkglist <filename>
    指定一个文件,该文件内的包信息将被包含在即将生成的元数据中,格式为每个包信息独占一行,不含通配符、正则,以及范围表达式。

-n --includepkg
    通过命令行指定要纳入本地库中的包信息,需要提供URL或本地路径。

-q --quiet
    安静模式执行操作,不输出任何信息。

-g --groupfile <groupfile>
    指定本地软件仓库的组划分,范例如下:
createrepo -g comps.xml /path/to/rpms
    注意:组文件需要和rpm包放置于同一路径下。

-v --verbose
    输出详细信息。

-c --cachedir <path>
    指定一个目录,用作存放软件仓库中软件包的校验和信息。
    当createrepo在未发生明显改变的相同仓库文件上持续多次运行时,指定cachedir会明显提高其性能。

--update
    如果元数据已经存在,且软件仓库中只有部分软件发生了改变或增减,
    则可用update参数直接对原有元数据进行升级,效率比重新分析rpm包依赖并生成新的元数据要高很多。

-p --pretty
    以整洁的格式输出xml文件。

-d --database
    该选项指定使用SQLite来存储生成的元数据,默认项。
- 创建索引
# createrepo -po /usr/share/nginx/Centos/centos/7/os/x86_64/base/ /usr/share/nginx/Centos/centos/7/os/x86_64/base/
Spawning worker 0 with 9 pkgs
Spawning worker 1 with 9 pkgs
Workers Finished
Saving Primary metadata
Saving file lists metadata
Saving other metadata
Generating sqlite DBs
Sqlite DBs complete
# createrepo -po /usr/share/nginx/Centos/epel/7/x86_64/epel /usr/share/nginx/Centos/epel/7/x86_64/epel
Spawning worker 0 with 7 pkgs
Spawning worker 1 with 7 pkgs
Workers Finished
Saving Primary metadata
Saving file lists metadata
Saving other metadata
Generating sqlite DBs
Sqlite DBs complete


## 由于手动中断了同步所以并没有下面两个目录,所以此处不再创建
createrepo -po /usr/share/nginx/Centos/centos/7/os/x86_64/updates /usr/share/nginx/Centos/centos/7/os/x86_64/updates
createrepo -po /usr/share/nginx/Centos/centos/7/os/x86_64/extras /usr/share/nginx/Centos/centos/7/os/x86_64/extras
至此仓库已经配置完成,下面开始配置如何公布仓库已便其他节点使用
nginx
# cat /etc/nginx/conf.d/yum.conf
server {
        listen 80;
        server_name yum.jevic.cn;
        location / {
            autoindex on;
            alias  /usr/share/nginx/Centos/;
        }
}
jevic.repo
这里为了演示把其他仓库文件已经移动到其他地方
# ls /etc/yum.repos.d/
jevic.repo
# cat jevic.repo
[jevic]
name=jevic
baseurl=http://yum.jevic.cn/centos/$releasever/os/$basearch/base/
enabled=1
gpgcheck=0
# yum makecache fast
Loaded plugins: fastestmirror, langpacks
jevic                                                                                                                                                     | 2.9 kB  00:00:00
Loading mirror speeds from cached hostfile
Metadata Cache Created

# yum list all|grep jevic
389-ds-base.x86_64                   1.3.8.4-15.el7                 jevic
389-ds-base-devel.x86_64             1.3.8.4-15.el7                 jevic
389-ds-base-libs.x86_64              1.3.8.4-15.el7                 jevic
389-ds-base-snmp.x86_64              1.3.8.4-15.el7                 jevic
Cython.x86_64                        0.19-5.el7                     jevic
ElectricFence.i686                   2.2.2-39.el7                   jevic
ElectricFence.x86_64                 2.2.2-39.el7                   jevic
GConf2.i686                          3.2.6-8.el7                    jevic
GConf2.x86_64                        3.2.6-8.el7                    jevic
GConf2-devel.i686                    3.2.6-8.el7                    jevic
GConf2-devel.x86_64                  3.2.6-8.el7                    jevic
GeoIP.i686                           1.5.0-13.el7                   jevic
GeoIP.x86_64                         1.5.0-13.el7                   jevic
GeoIP-data.noarch                    1.5.0-13.el7                   jevic
GeoIP-devel.i686                     1.5.0-13.el7                   jevic
GeoIP-devel.x86_64                   1.5.0-13.el7                   jevic
GeoIP-update.noarch                  1.5.0-13.el7                   jevic
ImageMagick.i686                     6.7.8.9-15.el7_2               jevic
安装RPM 包
将自制的RPM 包放到仓库目录下:
# cp /tmp/ngxlogserver-1.0-1.x86_64.rpm /usr/share/nginx/Centos/centos/7/os/x86_64/base/Packages/
更新仓库
# createrepo --update /usr/share/nginx/Centos/centos/7/os/x86_64/base/
Spawning worker 0 with 1 pkgs
Spawning worker 1 with 0 pkgs
Workers Finished
Saving Primary metadata
Saving file lists metadata
Saving other metadata
Generating sqlite DBs
Sqlite DBs complete
首先 重建缓存
# yum makecache fast
# yum list all|grep ngx
ngxlogserver.x86_64                  1.0-1                          jevic
# yum install ngxlogserver.x86_64
Loaded plugins: fastestmirror, langpacks
Loading mirror speeds from cached hostfile
........ 此次省略
Resolving Dependencies
--> Running transaction check
---> Package ngxlogserver.x86_64 0:1.0-1 will be installed
--> Finished Dependency Resolution

Dependencies Resolved

=================================================================================================================================================================================
 Package                                        Arch                                     Version                                   Repository                               Size
=================================================================================================================================================================================
Installing:
 ngxlogserver                                   x86_64                                   1.0-1                                     jevic                                   9.3 M

Transaction Summary
=================================================================================================================================================================================
Install  1 Package

Total download size: 9.3 M
Installed size: 29 M
Is this ok [y/d/N]: y
Downloading packages:
ngxlogserver-1.0-1.x86_64.rpm                                                                                                                             | 9.3 MB  00:00:00
...... 此次省略
warning: %post(ngxlogserver-1.0-1.x86_64) scriptlet failed, exit status 7
Non-fatal POSTIN scriptlet failure in rpm package ngxlogserver-1.0-1.x86_64
  Verifying  : ngxlogserver-1.0-1.x86_64                                                                                                                                     1/1

Installed:
  ngxlogserver.x86_64 0:1.0-1

Complete!
查看是否正常安装

Ok!
其他说明
- 1.注意目录的结构可以参考163源的目录结构,但是repo 文件中指定地址时注意后面添加
base子目录 - 2.由于同步太耗时而且一般我们也都是通过阿里云或者163的YUM源,所以中断了同步导致update,extras目录没有生成.
- 3.内部打包的RPM 文件直接丢到仓库目录下 更新仓库索引就可以直接被使用
- 4.如何制作RPM包请参考FPM 制作RPM 安装包
- 5.对于需要同步阿里云或者163镜像源的 可配置定时任务每天执行更新即可.